[7 Fixes] Toshiba Laptop won’t Connect to the Internet
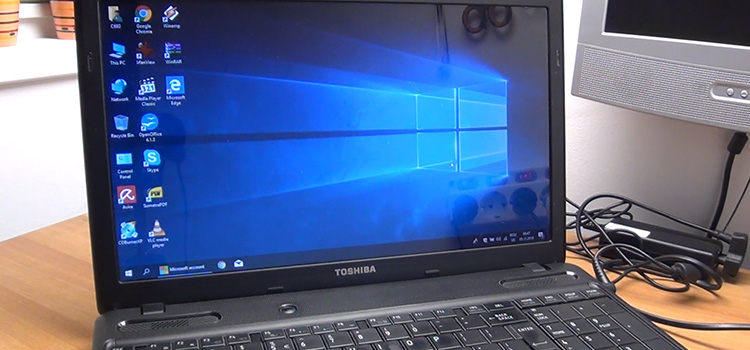
While connecting your Toshiba laptop to the internet you encountered with an error message that says Can’t connect to this network (below the network) while trying to connect to a wireless network, or No Internet (below the network) while connecting with ethernet.
There can be a bunch of causes behind this error situation and you are not only the person who is facing this issue. There are a lot of like you around the world. We can understand how much frustrating this issue is and that’s why we’re here to help you out.
So, be with us till the end and try to apply our suggested methods in this guide.

Why Does Toshiba laptop won’t Connect to the Internet?
First, it’s important for you to know why this error happens so that you can deal with it in a proper sense. The most probable reasons are –
- Outdated network adapters.
- Damaged or faulty WiFi adapter.
- Damaged or faulty ethernet cable or port.
- Third-party antivirus programs.
- Unusual restrictions from the IPv6 network protocol.
- Mismatched security for both adapter and router.
- The wireless network itself is unable or absent or malfunctioning.
How to Connect the Toshiba Laptop to the Internet?
There are several quick fixes to resolve this failure of internet connection. Apply them one by one until the error gets fixed.
Method 1: Update Network Drivers
Most pf the time, backdated network drivers prevent the laptop to connect to the internet. In this, you can try to update the network driver to fix this issue. Here are the process that you will need to follow.
Step 1: Right-click on the Start menu.
Step 2: Select Device Manager.

Step 3: Expand Network adapters.

Step 4: Right-click on the networks.
Step 5: Choose to Update Driver.

Step 6: Click on Search automatically for drivers and follow the lead.

Method 2: Manually Restart the Router
There is chance that you are facing this issue due to problem in your router. In this case, you will need to restart the router to fix the issue.
Step 1: Unplug the cables from the router.
Step 2: Wait for at least 30 to 40 seconds.
Step 3: Now, plug the cable back into the router.
Method 3: Reset the Channel Width
Resetting the channel width has helped some users to get rid of this annoying issue. Here are the necessary steps you will need to follow for resetting the channel width.
Step 1: Search for Network Status in the search bar and navigate into it.

Step 2: Now click on Network and Sharing Center.

Step 3: Select the Change Adapter Settings.

Step 4: Right-click on your wireless adapter and go for Properties.

Step 5: Go to the Advanced tab.


Step 6: Select the 802.11 channel width and reset the value with a suitable one (such as 20 MHz).


Step 7: Finish the process by clicking Apply and then OK.
Method 4: Set up New Network
Step 1: Search for Network and Sharing Center from the search bar.

Step 2: Go for Set up a New Connection or Network.
Step 3: Find and click on Manually Connect to a Wireless Network, then Next.

Step 4: Fill up the network name, security type, and security key sections.

Method 5: Disable the IPv6 Protocol
By disabling the IPv6 protocol, this internet connection issue can be solved. By navigating to the Network and Sharing center, you can disable it. Here are the process of doing so.
Step 1: Right-click on the connection icon and click on Open Network & Internet settings. There you will get Network and Sharing Center option.

Step 2: Click on Change Adapter Settings.

Step 3: Now, right click on Wireless/Wi-Fi and click on Properties.

Step 4: Find the Internet Protocol Version 6 and unmark the box.

Step 5: Restart the computer.
Method 6: Check for Ethernet Cable
Step 1: Check if the cable wires are damaged or torn.
Step 2: Check if the cable connectors are damaged or broken.
Step 3: Look for any dust or debris in the connector or ports of the router and PC.
Step 4: Look for any damage or scratch in the ports.
Step 5: Try a new and certified ethernet cable.
Method 7: Renew IP Address Via Command Prompt
Step 1: Search for cmd in the search bar and go for Command Prompt.

Step 2: Type these commands and press enter after each command to execute –
ipconfig /release
ipconfig /renew


Step 3: Close the window and check if the problem resolves.
Frequently Asked Questions (FAQs)
How do you troubleshoot a LAN port?
The procedure is quite simple.
- Verify that the network port and cable you are using are both in good working order.
- Ensure that the wired network interface on your PC is registered.
- Confirm that your network cable is inserted into an orange network port on your PC and the network port on your router.
- Reboot your computer.
Why the WIFI is working but not Ethernet?
Put a sniffer or an ethernet routing protocol cable into the jack. If the jack is functioning, it will detect the Internet connection and give you an appropriate display light. This is the simplest method of determining whether an Ethernet jack is functional.
Conclusion
As you’ve come this far, you’ve realized that all the solutions are quite easy to apply and surely help you to get rid of this matter. So, without any further ado, try these solutions as soon as possible.
Subscribe to our newsletter
& plug into
the world of technology


