How to Make an FTB Server With Hamachi (Installation and Configuration Guide)
Making an FTB server with Hamachi consists of quite a few steps. Noteworthy ones include downloading and installing Hamachi, creating a Minecraft server, and configuring Hamachi. Not to mention you still have to connect to the server. Also, running a modded server will require a couple of tweaks here and there.
But before you even get to work, you must estimate the amount of RAM your server will require. And if your system configurations don’t match, you can always opt for a hosting service.
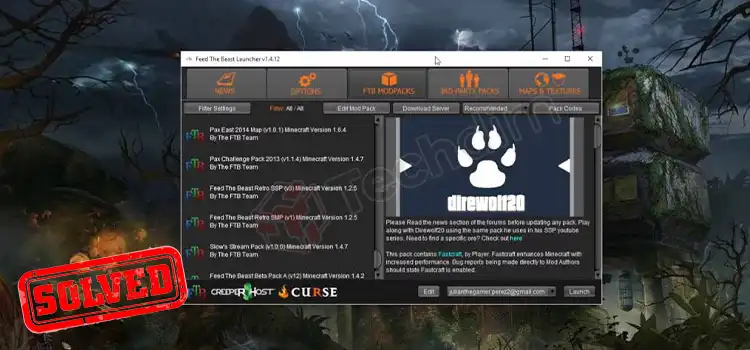
How Do I Make an FTB Server Easily
Follow the steps below and you’ll have your FTB server up and running in no time.
Select a Host
You have two options when hosting a server, use a powerful enough PC or go for third-party solutions. Generally, you’ll require almost 2-4GB of RAM for 2-10 players and around 7-8GB for 10-20 players. If your PC fulfills these requirements, you can use it to host the server.
Using a Personal Computer as Host
- From the FTB launcher, download the server files and extract them.
- Edit the start.bat file and put in the lowest amount of RAM allowed to the server in place of Xms512M. Do the same for Xmx1G but enter the maximum amount of RAM the server can use.
- Start the server by double-clicking the start.bat file.
- Use the localhost IP to connect to the server. Then forward your port to let friends outside your internet connection hop in. Since routers come in various models and types, a quick Google search will help with forwarding.
Using a Server Host
There are several third-party hosting services out there, Creeperhost being one with an easy interface. You can choose any service you wish and follow their rules to start the server. Typically, you’ll need to get FTP access and alter the ftbserver.jar file, most of which is pretty convenient.
How Do You Make a Minecraft Server With Hamachi
Unlike making an FTB server, making a Minecraft server using Hamachi has a more intricate process.
Download and Install Hamachi
- Download the Hamachi setup file for your Windows, Linux, or Mac.
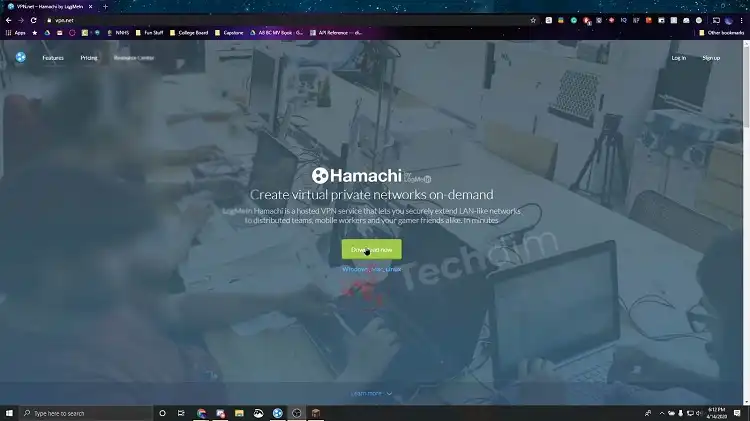
- After downloading, open the setup file and select your preferred language. You’ll then have to hit Next a couple of times and click on Install.
- Follow through the installation process to complete setting up Hamachi.
Download Minecraft Server
- Search for “download Minecraft server” on Google, and click on the first result. Click on the “Minecraft server 1.19.2.jar” link to download the latest version of the Minecraft Java server file.
- At this point, create a folder on your desktop and name it Minecraft Server.
- Place the server file you just downloaded inside the folder.
Create a Server
- Confirm that your PC has the latest version of both Minecraft and Java. Luckily, Minecraft will get automatically updated when you double-click on the launcher. As for Java, you can check if you have the updated version by going to the official Java website.
- Up next, open the Minecraft server folder and double-click on the server file to start unpacking. Agree to the server terms when prompted.
- Now, look for the eula.txt file and open it in Notepad. There will be a line that contains the statement “eula=false”.
- Go to that statement and change it to “eula=true”. Save the file and close Notepad.
- Open the Minecraft server file again for it to continue unpacking. Once that gets finished, you can close the window.
Configure Hamachi
- Type in Hamachi in the Windows search bar and open LogMeIn Hamachi from the results.
- Turn on Hamachi by pressing the power icon at the top of the window. A login form should come up.
- Click Sign up and finish the registration with your email and password.
- Next, click on the Network tab to bring up a dropdown menu. It will have two options, create a new network or join an existing one. Select the Create a new network option.
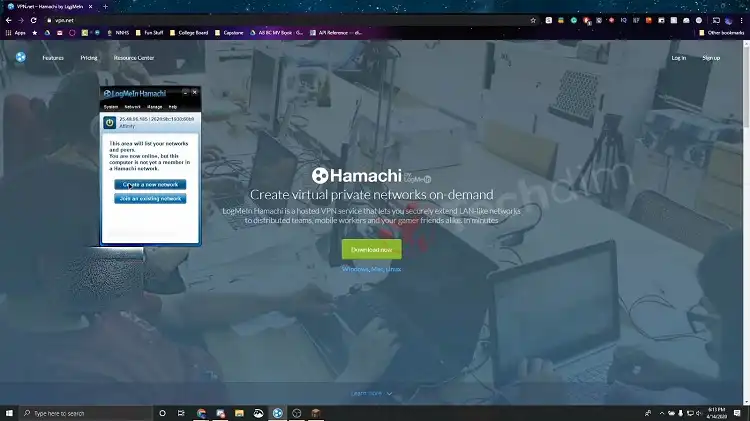
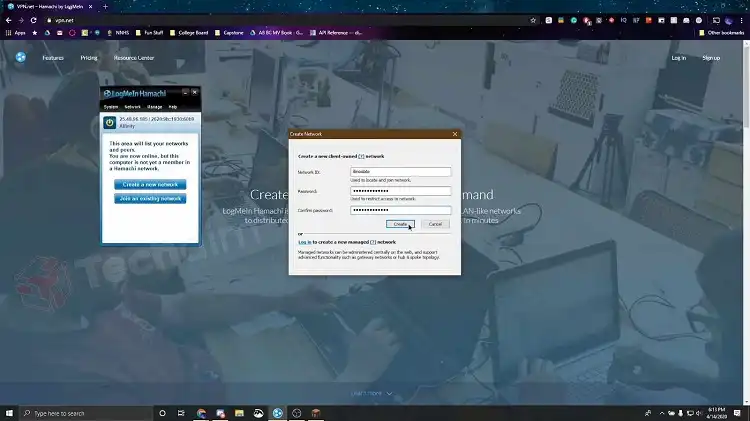
A new popup window named Create Network will appear.

- Choose a name for your server and insert it in the Network ID text field. If the name is already in use, Hamachi will let you know and ask for another.
- Once you have a name fixed, enter and reconfirm your password. Then click on Create to finish creating your server.
- Look for the IP address in the Hamachi window. Right-click on it and click on Copy IPv4 address. Now, rename the “server.properties” file in the Minecraft server folder to “server properties”. Then, open it and find the text “server-ip=”. Finally, paste the IP address at the right side of the equal operator and save the file.
- Next, Right-click your server name and select Go online. But if the option says Go offline, your server is online already, and you can have your friends join.
Connect to the Server
- Open the server command window by double-clicking the Java server file. Also, make sure the Hamachi server is on. Now, type in the username at the bottom and hit Enter. Keep in mind that you have to use your Minecraft username here.
- After that, open Minecraft and choose the Multiplayer option from the menu.

- Click on Add Server and type in the name of your server inside the Server Name textbox. Then paste the IP address you had copied into the Server Address field.

- Then click Join Server from the bottom of the window and wait for the server to stop loading.

How Do I Host a Minecraft Server With Hamachi
The above section already talks about how to host a Minecraft server with Hamachi. However, if you want to host the server over LAN, this section has a step-by-step walkthrough.
- First, create a Minecraft world with a single player.

- Then, press Esc, click the Open to LAN button, and start setting the options.

- Once you’ve set all of them, open your LAN network.
- A port number having five digits will appear in the chat window. Forward this number to your fellow players through the Hamachi chat window or any method you prefer.
Can You Host a Modded Minecraft Server With Hamachi
Yes, you can. The first thing you have to do is download Forge and install it directly on the server. After that, upload your mod files to a folder on your server named “mods”. Give your modded server address to your friends, and you’re good to go.
Final Words
Hamachi is undoubtedly a great tool for people who want to host a Minecraft server, even a modded one. But you have to make sure you skip no steps during the process, or the server won’t be running.
Subscribe to our newsletter
& plug into
the world of technology
