[Fix] There Are No Readable File Allocation Tables (100% Working)
FAT, or File Allocation Table, is the most commonly used file allocation system for personal computers which are run by Windows, Linux, and Mac operating systems. It is most typically found on solid-state storage devices such as USB flash drives and SD cards. The File Allocation Table is used by the file system to detect the chains of data storage locations associated with a file. The File Allocation Table is allocated while formatting the drives or the cards. There are three types of FAT versions. The major FAT versions are named after the number of bits of the table element:
- 12 bit FAT (FAT12)
- 16 bit FAT (FAT16)
- 32 bit FAT (FAT32)
All of these three versions are still used in various filing systems. In addition, the FAT standard has been and is still being enhanced in several ways while maintaining backward compatibility with older software. However, this article will walk you through the process of resolving the error “There are no readable file allocation tables” after using the command “chkdsk X: /F /R” to repair a drive that can’t be accessed from Windows. Or, there is a warning of error “The drive is not formatted, do you want to format it now?”.
The error “There are no readable file allocation tables (FAT)” occurs when the FAT boot sector of the hard drive is corrupted. Here’s some step-by-step process to resolve the CHKDSK Error “No readable file allocation tables (FAT)”.
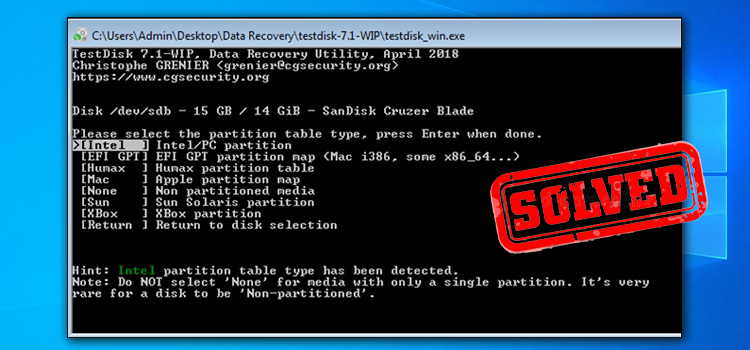
How to Fix ‘There Are No Readable File Allocation Tables’ a Corrupted FAT Boot Sector
To fix a corrupted FAT Boot Sector follow the below steps.
- Go to http://www.cgsecurity.org/wiki/TestDisk and get the Testdisk software for your operating system. (For example, Windows)
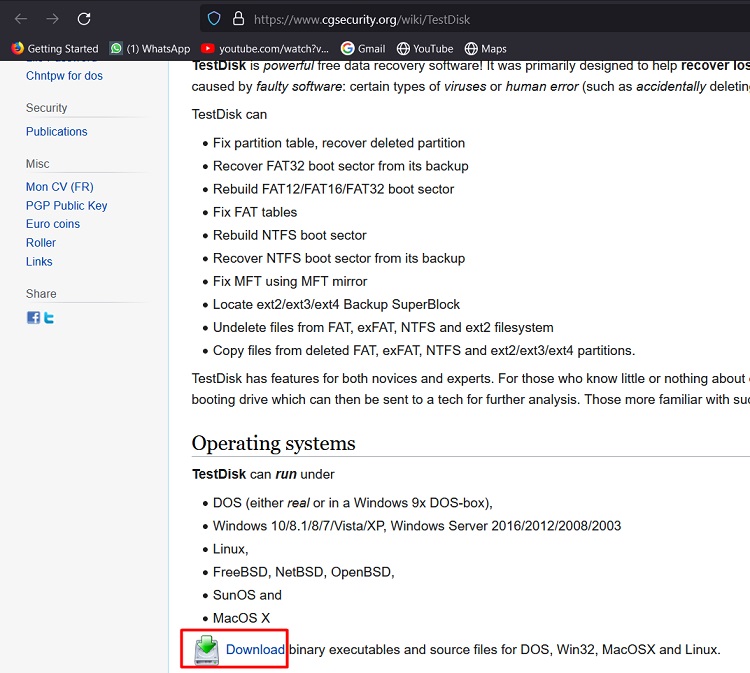
- When the download is finished, right-click on the “testdisk-7.0-WIP.win.zip” file and click Extract All to uncompress the Zip file.
- Browse the extracted folder’s contents and run the file titled testdisk win.exe.
- At the first screen of the TestDisk application, hit Enter on the highlighted Create option.

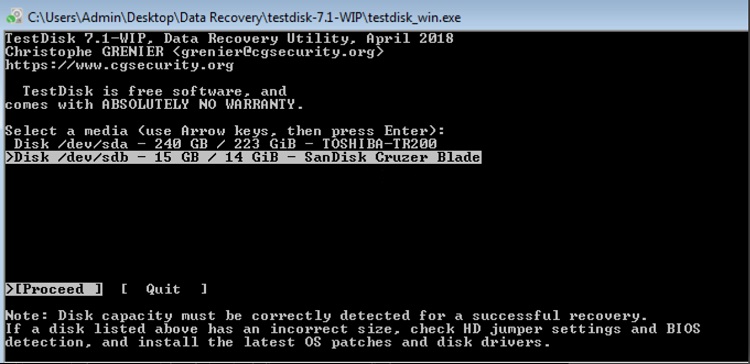
- Move to the damaged drive with help of the arrow keys and hit Enter.
* Before proceeding, double-check that you have picked the relevant drive (the damaged one).
- At the next screen, specify the identified partition table type (e.g. “Intel”) and hit ENTER.
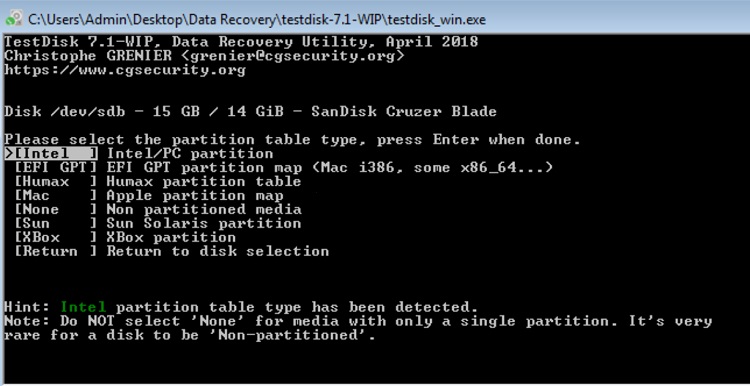
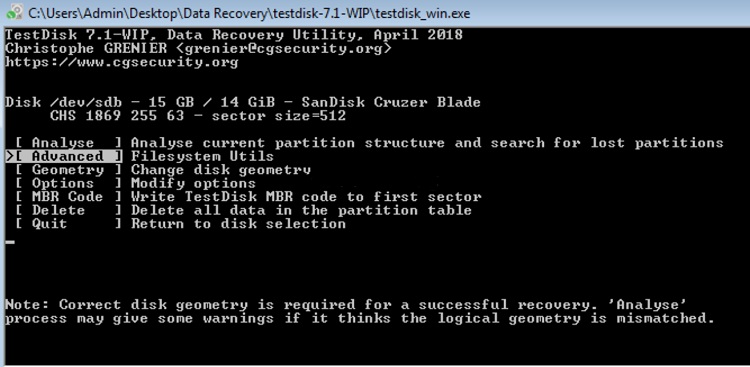
- Then click on Advanced.
- Chose the Boot option with the right arrow key and hit Enter.
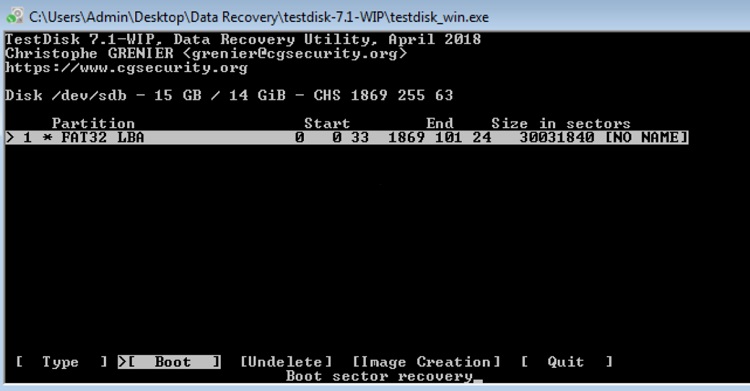
- Then, using the right arrow key again, choose Repair FAT and hit Enter.
- The TestDisk application will now check to see if the FAT boot sector is similar to its backup. After that, continue as follows based on the result:
- If the Boot sector is not similar to its backup, you will be instructed to restore the backup FAT boot sector. If this occurs, tap the ‘Y’ key to choose Yes.
- If the Boot sector is similar to its backup, continue the process by selecting the Rebuild BS option and pressing Enter to reconstruct the Boot sector.
- When the procedure is finished, hit q button to exit and then quit the TestDisk application (windows).
- Restart the computer.
Usually, you can have access to the drive and the contents in it after restarting the PC. If this occurs, immediately back up your files and then scan the drive for faults. If you are still facing a problem accessing that drive, it may be physically damaged and you might have to replace it.
Conclusion
This simple step-by-step instruction for resolving the FAT problem may save both your time and valuable data. The software that is used in this process can be used for many other operations too.
Subscribe to our newsletter
& plug into
the world of technology


