[Solution] 0x8000fff Error Code | Easy Ways to Fix it
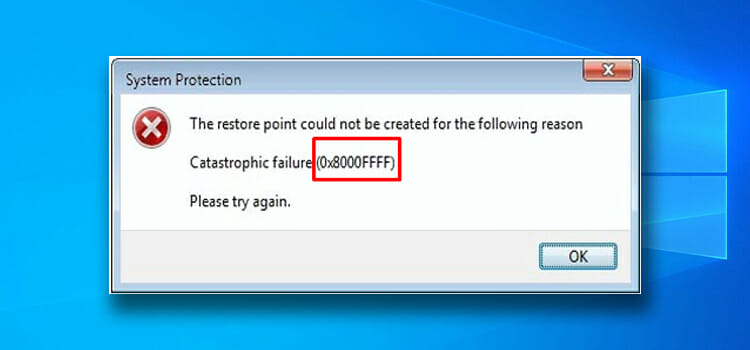
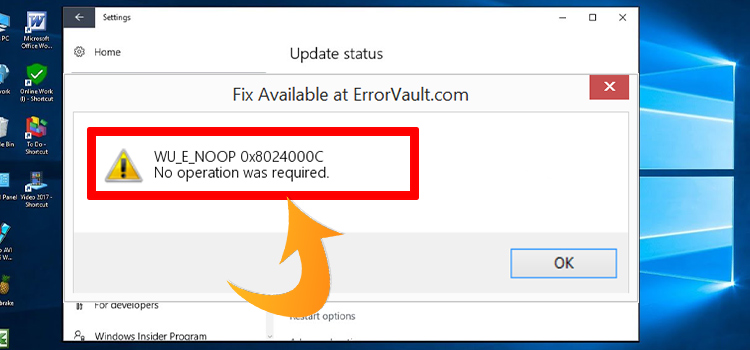
The 0x8000fff Error Code is one of the very common errors in Windows. This error indicates that your PC can’t able to communicate with the Windows Store or Windows update. This error can happen for different reasons. Sometimes, this error may occur for virus attacks or some other manual problem.

Reasons Behind Occurring 0x8000fff Error
When you are getting the 0x8000fff Error then it means your operating system is having update issues. There are several reasons too. Let’s find out the reasons below.
- Your PC is infected by malicious things or malware activity has been injected there.
- Improper computer settings.
- Corrupted Windows store app, system files, and Registry entries.
- Faulty or unnecessary drivers.
- Wrong time and date have been set.
Methods to Solve 0x8000fff Error Code
There are some methods below to fix the 0x8000fff Error Code so that you won’t have problem with the connectivity.
Method 1: Perform PC Scan with Windows Defender
You can use Windows Defender to scan thoroughly your PC and check the health of your PC. To do so, follow the steps below.
Step 1: First, you have to open the Windows Defender on your computer. For this, you have to click on Start and from the menu, you have to choose Settings.
Step 2: Once you enter the Settings, you have to click on Windows Defender Offline. You may have to scroll down to see the option.

Step 3: You have to keep in mind that, you have saved or backed up everything before the PC restarts.
Step 4: Now, under the Windows Defender Offline, you have to choose Scan Offline.
Step 5: This, scanning process will take a few minutes. You have to wait until the process is completed. Finally, you have to check if the error is solved or not. You may need to update the windows defender before doing this if asked.
Method 2: Run SFC Scan to Fix 0x8000fff Error Code
To find out and fix the corrupted files, you will need to run SFC /Scannow command in Command Prompt. Now, follow the steps below to find out how you can do that.
Step 1: First, you have to open the Command prompt(Admin) on your computer. For this, you have to press Windows key+X on your keyboard. From the menu, you have to choose Command prompt(Admin). If you can’t find it, then select PowerShell(Admin).

Step 2: Once you open the command prompt, you have to type sfc/scannow in the command line.

Step 3: Finally, the scanning process will start. You have to wait until the operation is finished. The tool will scan and repair all corrupted files.
Method 3: Run DISM Scan to Fix 0x8000fff Error Code
Another option for repairing the corrupted files or updating files is, DISM scan. To run DISM scan, follow the steps below.
Step 1: First, you have to open the command prompt on your computer. You have to simply press Windows key+ X and choose Command prompt from the menu bar.
Step 2: When you open the command prompt, you have to type the following command in the command line:
DISM /Online /Cleanup-Image /RestoreHealth/

Step 3: Finally, you have to wait until the process is finished. Then, check if the error is fixed or not.
Method 4: Check the Date & Time and log in as Admin
When you set your PC’s time differently from your time zone, some options of your operating system won’t properly. That’s why you will need to change the time and date. To do so,
Step 1: First, you have to go to the Start menu and right-click on it. From the menu, you have to choose to Adjust the date/time.

Step 2: Then, in the Date & time section, you have to select the Set time automatically option and turn it off. After a few seconds, you have to turn it on again.

Step 3: Finally, you have to check the date and time of your computer if they are correctly running or not depending on the operating system version. If not, then change the date and time manually.
Method 5: Reset Store Cache to Fix 0x8000fff Error Code
To fix corrupted Windows Store cache, you will need to reset the store cache. To do so,
Step 1: First, you have to open the Run on the computer. For this, you have to press the Windows key + R on your keyboard altogether.
Step 2: Once you open the Run in your PC, you have to type WSReset.exe and press Enter.

Step 3: Now, you have to click on Ok. This process will clear the Microsoft Store cache. After completing the process, you have to check the error. You can also delete the updated files of Windows.
Method 6: Reboot your Networking System
Rebooting the networking system also can pull you out of the 0x8000fff Error issue. The steps are mentioned below.
Step 1: First, you have to open the Settings on your computer. You have to go to the Start menu and choose settings from the menu.
Step 2: Then, from the Settings, you have to choose Update & Security.

Step 3: Now, in the right pane, you have to select Recovery. In the Advanced startup, you have to click on Restart Now.

Step 4: You have to wait until the PC restarts. Then, you have to select Troubleshoot from the menu.
Step 5: Once you are there, you have to enter Advanced Options.
Step 6: Under Advanced Options, you have to choose Startup Settings.
Step 7: Now, you have to hit the Restart.
Step 8: Next, when the computer will start, you have to choose Safe mode with Networking from the option list.
Step 9: Finally, close the window and check the issue.
Method 7: Clean Problematic Applications
Problematic applications can create so many issues on your PC. To fix the 0x8000fff Error and keep safe yourself from future threats, you will need to remove them from your PC.
Step 1: First, you have to open the hidden files and folders of your computer. You can find it manually or simply paste the following in the search box.
C:\$WINDOWS.~WS\Sources\Panther
Step 2: Then, you have to find the files with <array_of_symbols>_APPRAISER_HumanReadable.xml extension.
Step 3: You have to open the file in your Notepad.

Step 4: Now, you will find some information. You have to locate BlockingApplication=True application.
Step 4: Finally, you have to remove the application from your computer.
Method 8: Create a New Administrator Account
If you couldn’t fix the 0x8000fff Error on your existing administrator account then you can create a new one and make that administrator account. Here are the steps.
Step 1: First, you have to open the Settings app on your computer. For this, you have to press Windows Key + I on your keyboard and choose Settings from the menu.
Step 2: When you enter Settings, you have to select Accounts.

Step 3: Now, from the window, you have to select Family & other people from the menu. You will find it in the left pane of the Window.
Step 4: Next, you have to click on Add someone else to this PC from the right section of the Window.

Step 5: After that, you have to select I don’t have this person’s sign-in information.

Step 6: You may ask to create a Microsoft account. You have to choose to add a user without a Microsoft account option.

Step 7: Finally, you have to type the user name and click on Next.

You have to follow the steps below to convert the new account to the administrator account.
Step 1: First, you have to go to the Settings and choose Accounts.
Step 2: Then, you have to select Family and other people. And, in the right pane, you have to click on Change account type.

Step 3: Now, in the window, you have to set the Account type to Administrator and then click OK.

Method 9: Run an in-Place Upgrade
You can do it by using the Media Creation tool. Follow the steps below to do so.
Step 1: First, you have to launch Media Creation Tool on your computer. You have to download it from Microsoft’s website.
Step 2: Then, you have to select Upgrade this PC now.
Step 3: Now, you have to choose Download and install updates (recommended). You have to wait until the process is finished.
Step 4: Next, you have to follow the on-screen instructions to complete the process. Then, you have to select Change what to keep.
Step 5: Finally, you have to choose to Keep personal files and apps and click Next. Then, you have to complete the setup.
Method 10: Disable Proxy
To disable the proxy, follow the steps below.
Step 1: First, you have to press Windows + I altogether and open the search.
Step 2: In the search box, you have to type Internet Options and press Enter.
Step 3: Now, you have to click on the Connections tab and then click on LAN Settings.
Step 4: Next, you have to uncheck the box next to the Use a Proxy Server for your LAN option.
Step 5: Finally, you have to click on OK.
Conclusion:
When the error occurs, you can’t open the Windows store or update the Windows which can be dangerous for your PC security. And, until you solve the error, it comes again and again on the screen. You have to try the methods one by one to find the actual reason for the error and fix it.
Subscribe to our newsletter
& plug into
the world of technology


