How to Install Third-Party Themes in Windows 10
For people who like to fiddle around with their operating systems and customize things, Windows 10 has a nice set of built-in themes and customization options. However, sometimes, these are not enough, especially when you are using the OS for a long time, which we usually do.
So, if you are someone who wants to take Windows 10 customization potentiality to the maximum, custom themes are the way to go for you. In this article, we’ll explain how to install third-party themes in Windows 10.
Usually, you need to patch some system files, then you can use any themes you want.
What Do You Need to Install Third-Party Themes?
The precaution is called Patching files. As Windows doesn’t allow any customized third-party theme on your Windows 10 pc or laptop, you have to make bypass by patching files of your laptop.
Patching system files are a quite difficult process but there is some software for this purpose and they can do this job in a few minutes. But the risk is that this third-party software can make some unexpected issues in your files. Sometimes this software can make some changes in your system files. So if you want to use third-party software, then you have to take the risk.
There are many third-party software solutions for patching files up. They are UxStyle, UXTheme Multi-Patcher, and UltraUXThemePatcher. Now we will go for the final step. That is how to add third-party themes on Windows 10 pc or laptops.
How to Install Third-Party Themes on Windows 10
This installation needs two individual paths. One is to download and install third-party patching software. And then is to download the theme folder and make it applicable. So first you have to download and install patching software. Let us go and see the step-by-step procedures
Installation of Third-party Patching Software on Windows 10
We have talked about three such software above. Among them, UxStyle is quite simple and easier in case of installation. To install third-party themes on Windows 10, we need to bypass the Windows theme signature requirement and this UxStyle does it. By going to its website you can easily download this. After extracting the file, you have to simply click on the install button. And then your installation will be completed.


But the other two software installations are not that easy. You have to follow the steps to install them. So if you download one of these two software, you don’t need to worry. Let us start.
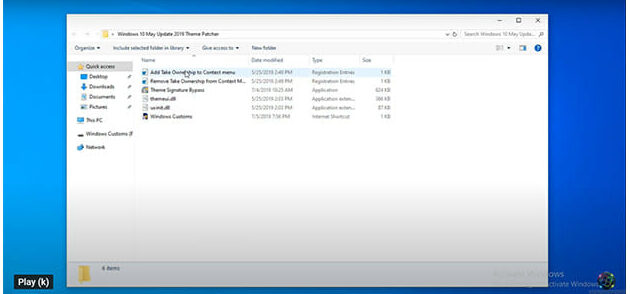
At first, you have to download anyone from their website. Then you have to extract the files and open them. After opening, you have to select Add Text Ownership to Context Menu and click on it.
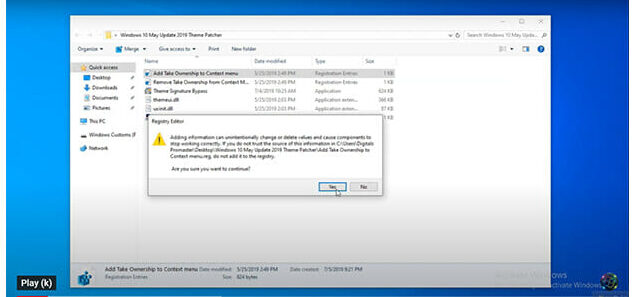
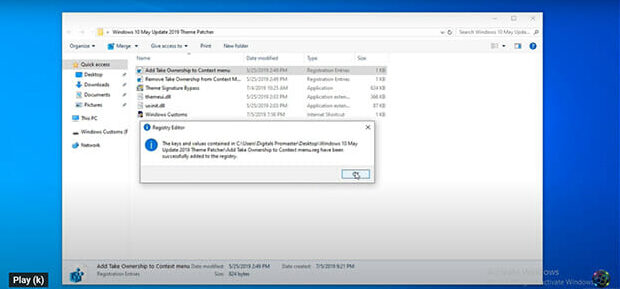
Then two registry editor boxes will come respectively and you have to select the Yes and Ok button.
Now you have to go to This PC and open it up. Then, you have to select the C drive where your Windows 10 operating system is installed. After that, you have to get into that drive and select Windows and System 32 respectively.
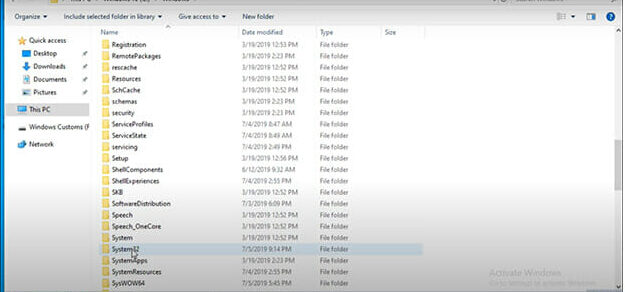
After entering in the System32, you will find themeui.dill and UXInit.dill extensions which will match with your software files. So at this moment you have again opened up your files and match them with the files of System32. Now you have to click on these extensions individually and respectively. When you select and click one, you have to click on the Take Ownership button and yes button. Again, you can rename this file like themeui.dii.original for further operation and again agree by clicking the Yes button.
The same process is for the UXInit.dill.


After this, you have to go to the patch folder and copy that two files and paste on this System32 page.
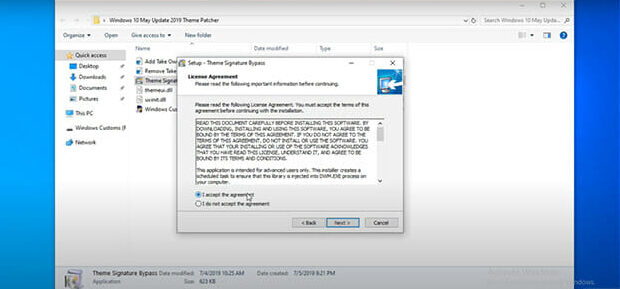
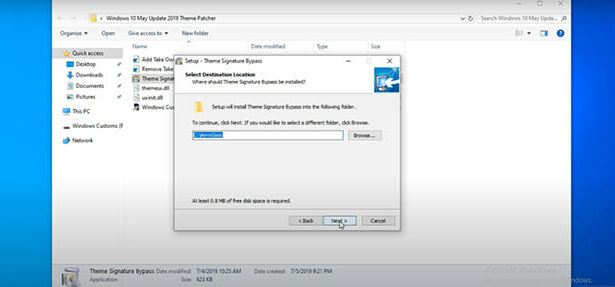
Now comes the main part, the installation part. For this, again you have to go to the patch folder and select Theme Signature Bypass and press yes for further applications. Then, by clicking the next thrice and then install a button, your installation will be completed. Now you can finish it.


You have to click the Yes button for sure.

Here you have to click on I accept the agreement and then on the Next button.
Again, here you have click on the Next button.
For the last time, you have to click the Next button.

Your installation is completed successfully. Now you can install any third-party themes on windows 10 pc or laptop easily. For this purpose, you have to follow the following steps.
Finally, Install Any Themes You Want
Now you have to download some nice and attractive visual themes according to your choice and extract the files. After that, by clicking on the files you will get the Install option or you will get two registry editor. There you have to click yes and ok button respectively. Thus your installation is completed.
For getting these themes in usage, you have to copy the themes from the downloaded folder. Then you have to paste them in the themes of C drive. To get the themes option, you have to go to drive C, where your operating system Windows 10 is installed. Then, you have to go to Windows and after that resources and finally, you will get the Themes option.
Now you have to type Settings on the start menu search box and select it. Then, you have to go to the personalization option and select the background from the personalization option. By scrolling down, you will get your installed themes. Now you can choose one and double click on it. Thus, your themes are in use.
Conclusion
So now you must find that the installation process of third-party themes in Windows 10 is not that difficult. But you have to keep patience in this procedure. Having the same themes for a long time is kind of a boring thing.
Subscribe to our newsletter
& plug into
the world of technology
