How to Fix the Blue Screen of Death (BSOD) in Windows 10
If you’ve been using Windows 10 for a while, you’ve probably encountered the dreaded Blue Screen of Death (BSOD) at some point. This stop error screen can appear unexpectedly, causing your system to crash and potentially leading to lost work or productivity. But don’t worry—BSODs aren’t always the end of the road, and there are several methods you can use to diagnose and resolve the issue.

In this post, we’ll dive deep into what causes the Blue Screen of Death on Windows 10 and guide you through a step-by-step process to fix it and prevent future occurrences.
What is the Blue Screen of Death (BSOD)?
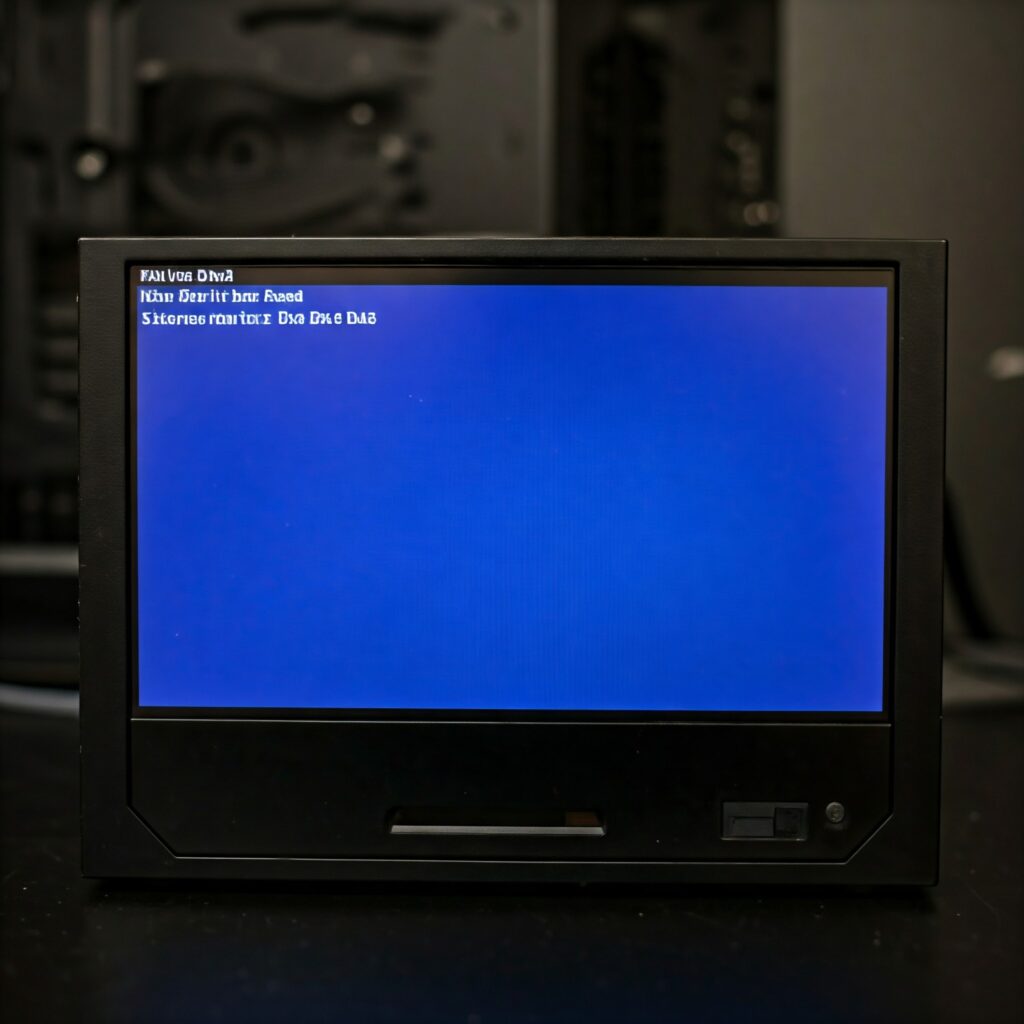
The Blue Screen of Death (BSOD) is a critical error screen that Windows displays when it encounters a system failure it cannot recover from. When this happens, Windows stops working and forces a restart to prevent further damage to your system.
The BSOD typically displays a “STOP” code, which can help you identify the root cause of the problem. These codes vary depending on the issue, and understanding them is key to troubleshooting effectively.
Common Causes of BSOD in Windows 10
BSODs can occur for several reasons, and while some are more serious than others, most can be resolved with a bit of troubleshooting. Here are the most common causes:
- Corrupt System Files: Essential files that Windows needs to run could become damaged or corrupted.
- Outdated or Corrupt Drivers: Incompatible or broken hardware drivers (such as graphics or network card drivers) can trigger a BSOD.
- Faulty Hardware: Problems with your hard drive, RAM, or motherboard can lead to system crashes.
- Overheating: High temperatures can cause your hardware to fail, triggering the BSOD.
- Software Conflicts: Certain software or programs (often third-party applications) may conflict with Windows, leading to errors.
How to Fix the Blue Screen of Death (BSOD) in Windows 10
Now that we understand the causes, let’s go over how to fix the BSOD error in Windows 10. Follow these steps to resolve the issue:
Step 1: Check the Error Code on the BSOD
When the BSOD appears, it will display an error code (such as IRQL_NOT_LESS_OR_EQUAL, SYSTEM_THREAD_EXCEPTION_NOT_HANDLED, or PAGE_FAULT_IN_NONPAGED_AREA). Make a note of this code, as it can help you identify the underlying issue.
What to Do:
- Take a photo or write down the exact error code.
- Search for the error code online (e.g., “IRQL_NOT_LESS_OR_EQUAL Windows 10”) to find possible causes and solutions.
Step 2: Boot Into Safe Mode
Safe Mode is a special diagnostic mode in Windows that loads only the essential drivers and services. It allows you to troubleshoot and fix issues without other programs or services interfering.
How to Boot Into Safe Mode:
- Restart your PC.
- As soon as your PC begins booting, press F8 or Shift + F8 repeatedly to access the Advanced Boot Options screen.
- Choose Safe Mode from the list.
If your PC isn’t able to boot into Safe Mode via F8, follow these steps instead:
- Start your PC, and once it begins to boot, force a shutdown by pressing and holding the power button.
- Repeat this process three times. On the fourth boot, Windows will boot into Windows Recovery Environment (WinRE).
- In WinRE, go to Troubleshoot > Advanced options > Startup Settings, then click Restart.
- Once your PC restarts, choose Safe Mode from the options provided.
Step 3: Run System File Checker (SFC) to Repair Corrupted Files
One of the most common reasons for BSOD errors is corrupted or missing system files. The System File Checker (SFC) tool scans your system for damaged or missing files and repairs them automatically.
How to Run SFC:
- Press
Windows + Xand select Command Prompt (Admin) to open an elevated command prompt. - Type the following command and press Enter:bashCopy
sfc /scannow - Wait for the process to complete (it may take several minutes).
- Once finished, restart your computer.
If SFC finds and repairs any issues, restart your system and see if the BSOD is resolved. If the problem persists, move to the next step.
Step 4: Update or Roll Back Device Drivers
Outdated or faulty drivers are one of the most common causes of BSODs. This is especially true if you’ve recently installed a new driver or Windows update.
How to Update Drivers:
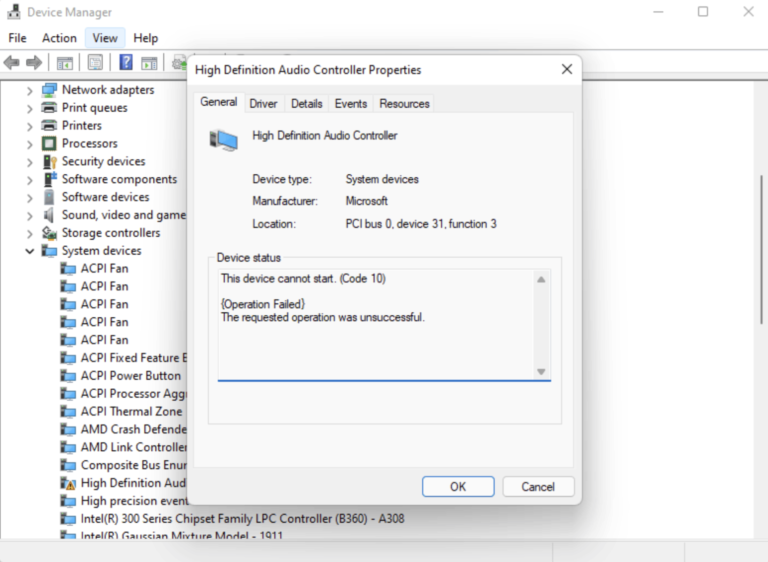
- Right-click on Start and select Device Manager.
- Expand the relevant category (e.g., Display adapters for graphics drivers).
- Right-click on your device and select Update driver.
- Select Search automatically for updated driver software.
If updating the driver doesn’t help, try rolling back the driver to a previous version:
How to Roll Back a Driver:
- In Device Manager, right-click the device and select Properties.
- Go to the Driver tab and select Roll Back Driver (if the option is available).
After updating or rolling back the driver, restart your computer and check if the BSOD issue is fixed.
Step 5: Run Windows Memory Diagnostic Tool
Faulty RAM (Random Access Memory) can cause system crashes, including BSOD errors. Windows 10 includes a built-in Memory Diagnostic tool that checks for memory problems.
How to Run Memory Diagnostic:
- Press
Windows + Rto open the Run dialog box. - Type
mdsched.exeand press Enter. - Choose Restart now and check for problems. Your PC will restart and check for memory errors.
- If errors are found, you may need to replace your RAM.
Step 6: Check for Overheating
Overheating can cause your system to crash and lead to BSOD errors. Check your CPU and GPU temperatures, especially if you’ve been running resource-heavy applications like games or video editing software.
How to Check for Overheating:
- Download third-party tools like HWMonitor or Core Temp to monitor the temperature of your CPU and GPU.
- If your temperatures are too high (typically above 85°C for CPUs), consider cleaning out your PC’s fans, improving airflow, or investing in better cooling solutions.
Step 7: Perform a System Restore
If the BSOD started happening after installing new software or updates, performing a System Restore can roll back your system to a point before the issue began.
How to Perform a System Restore:
- Type
create a restore pointin the Start menu search bar and open the System Properties window. - Under the System Protection tab, click System Restore.
- Follow the on-screen instructions to choose a restore point and roll back your system to an earlier state.
Step 8: Check for Malware
Sometimes, malware can corrupt system files and cause crashes, including BSOD errors. Running a full system scan is a good way to ensure that your system is clean.
How to Run a Full Malware Scan:
- Open Windows Defender by searching for Windows Security in the Start menu.
- Go to Virus & Threat Protection and click Quick Scan or Full Scan for a deeper check.
- If you use third-party antivirus software, run a full scan with that tool.
Preventing Future BSODs
While BSODs are never fun, most of them can be fixed with the right tools and techniques. By following the steps above, you can diagnose the cause of your BSOD and resolve it, allowing your system to run smoothly again.
To prevent future BSODs, make sure to regularly update your system and drivers, avoid overloading your PC with too many programs, and perform routine hardware checks to ensure everything is functioning as it should.
If you continue to experience BSODs after following these steps, it could be time to seek professional help, as the issue may be hardware-related.
Subscribe to our newsletter
& plug into
the world of technology


