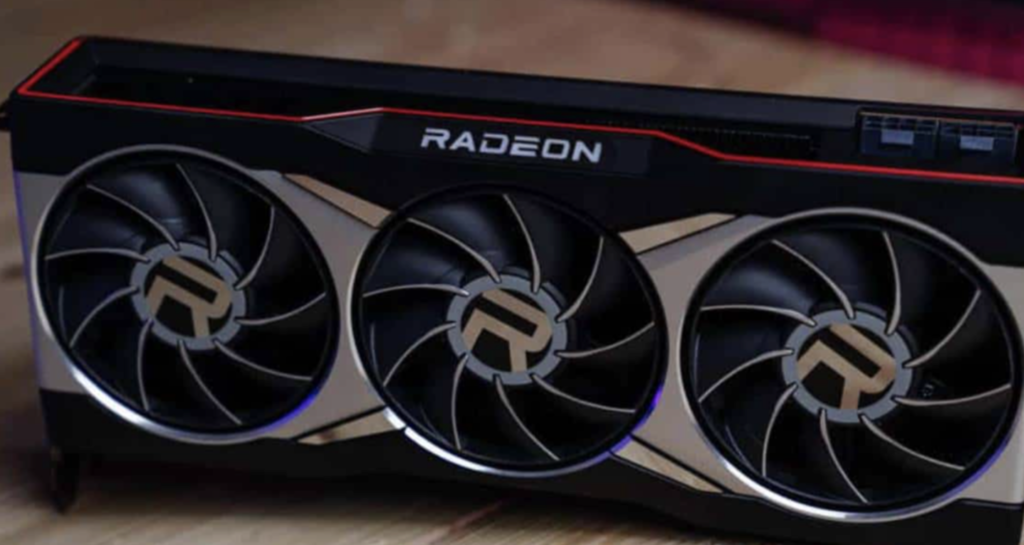
How to Disassemble and Clean the Fans of Your GPU to Prevent Thermal Throttling
If you’re a gamer or someone who relies on heavy GPU workloads, you know that thermal throttling can become a serious issue. When your GPU gets too hot, it can reduce performance and even cause long-term damage. While general cleaning can help, one often overlooked area of GPU maintenance is the fans. Over time, dust, grime, and even pet hair can clog up the cooling fans on your GPU, severely hampering its ability to cool itself effectively.
This post will walk you through the process of disassembling your GPU fans to give them a deep clean — something that’s not covered in typical “cleaning your PC” articles. It’s a delicate process, but it’s worth it to ensure your GPU stays cool, performs at its peak, and lasts longer.
Why Clean Your GPU Fans?
Your graphics card is responsible for rendering high-quality images, videos, and simulations. It works hard, and the fans help dissipate heat generated by the GPU’s processor. If dust and debris accumulate over time, the fans will spin less efficiently, leading to higher temperatures and lower performance. In extreme cases, this can even cause thermal throttling or permanent damage.
Signs That Your GPU Fans Need Cleaning:
Before diving into the cleaning process, you should be able to recognize a few key signs that your GPU fans need attention:
- Loud or Grinding Noises: A noisy fan is usually a sign of dust buildup or internal damage.
- Increased GPU Temperatures: If your GPU temperature is higher than normal even when not under heavy load, clogged fans might be the issue.
- Performance Drops: Your GPU may automatically throttle its clock speed to avoid overheating, leading to a noticeable dip in frame rates.
If any of these apply to your setup, it’s time to clean your GPU fans.
Tools You’ll Need
Before you start disassembling your GPU, gather these tools to ensure a smooth process:
- Small Phillips Head Screwdriver: To remove screws without damaging delicate components.
- Compressed Air Canister: For clearing dust and debris from tight spaces.
- Microfiber Cloth: To wipe down any accessible parts and remove grease or grime.
- Isopropyl Alcohol (90% or higher): For cleaning the blades without damaging the material.
- Plastic Tweezers: For any small, hard-to-reach areas that require a more delicate touch.
Step-by-Step Guide to Cleaning Your GPU Fans
1. Power Down and Remove Your GPU
Before you do anything, turn off your PC, unplug all cables, and remove the GPU from your system. If you’re unfamiliar with how to properly uninstall your GPU, consult the user manual or look up the steps specific to your case.
2. Remove the Shroud (Fan Cover)
Once the GPU is out, locate the screws that hold the fan shroud (the cover surrounding the fans) in place. These screws are usually on the back or sides of the GPU. Use a small Phillips head screwdriver to remove them carefully.
3. Clean the Fan Blades with Compressed Air
Once the shroud is removed, you’ll be able to access the fan blades. Using a can of compressed air, blow air across the blades to remove dust and dirt. Be sure to do this gently—don’t push the fans to spin faster than their designed speed, as this can cause damage.
4. Wipe the Fans with a Microfiber Cloth
After blowing out the dust, take a microfiber cloth and gently wipe down the fan blades. If you find that some grime is stuck, you can lightly dampen the cloth with isopropyl alcohol (90% or higher). Don’t use too much liquid, as you want to avoid getting it into the motor.
5. Check the Fan Bearings for Lubrication Needs
If you notice the fans making grinding or rattling noises, they might need lubrication. This step is tricky, as disassembling the fan motor can void the warranty, but if you’re comfortable, apply a small drop of light machine oil (or similar lubricant) to the fan’s bearing. Just be cautious not to overdo it.
6. Reassemble and Test
Once the fans are cleaned and reassembled, carefully place the fan shroud back over the GPU. Screw it back into place, reinstall the GPU into your PC, and power it on. Monitor the GPU temperature using software like MSI Afterburner or HWMonitor to ensure your cleaning has improved cooling efficiency.
Tips for Maintaining Your GPU Fans in the Future:
- Regular Dusting: At least once every 3-6 months, use compressed air to blow out dust from the fan and vents to prevent buildup.
- Proper PC Placement: Avoid placing your PC in an area prone to excessive dust, like near an open window or on the floor where dust collects.
- Case Fans: Ensure your PC case has adequate airflow. Poor case airflow can contribute to GPU overheating even if the fans themselves are clean.
Conclusion
While cleaning the fans on your GPU may seem like a minor maintenance task, it can make a huge difference in preventing thermal throttling, improving system performance, and extending the life of your graphics card. By following this step-by-step guide, you can ensure that your GPU stays cool under pressure, even during extended gaming or intensive workloads.
Keeping your GPU in top shape means fewer crashes, more stable performance, and better value from your investment—so don’t overlook this crucial part of regular maintenance.
Subscribe to our newsletter
& plug into
the world of technology


