[Fix] Failed to Load Java VM Library (100% Working)
Ever faced your computer’s Java Virtual Machine failing on you? You might have not noticed it but outdated software causes a lot of problems in the computer from time to time. Until you face one, you wouldn’t be aware of it.
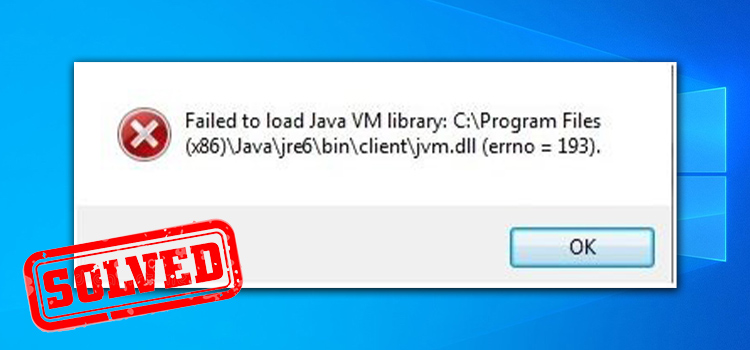
The programs that need the JVM to work, will fail if your Java is outdated. And you will get a failed to load java VM library message.
Today we are going to fix that with a few simple steps.

How to Fix the ‘Failed to Load Java VM Library’ Error
To fix your Java VM library failure, you have to uninstall the program that is bringing up the message. It can be a media program, an emulator, or anything. Simply uninstall it first.
Then proceed with the steps below.
Step 1: Go to your browser and type for the latest Java VM.
Step 2: Select your operating system (Windows, Linux, Mac) and type (32/64).
Step 3: Download and install the Java VM.
Step 4: When the installation is finished, restart your computer.
Step 5: After your computer starts, install the program that was showing the failed to load java message. It will now work perfectly.
If You Still See the Error Message After Installing Java VM
Sometimes even after installing the Java VM, people still see the error message. If that’s the case with you, chances are that you have installed the incorrect bit version of the Java VM package.
Go to your download source again, download the correct bit version (x86 or x64), and install it. Reboot afterward.
If you still fail to open the program that prompted the error message in the first place, uninstall Java VM, and uninstall the program. Then reinstall the program after you’ve installed the correct version of Java.
Frequently Asked Questions (FAQs)
Why is Java Virtual Machine not working?
If you get the message Java Virtual Machine not working or Could not create the Java Virtual Machine, then you are low on disk space. Clear out some of your disk space where your Windows is installed and then try again. It will work afterward.
What is a Java VM error?
Java VM error occurs due to many reasons. Outdated version of the Java VM, corrupt files, permission issues, and so on. The best way to deal with it is to uninstall the existing Java VM and install the latest one from the website.
How do I enable JVM?
To enable JVM, go to the administrative console from your settings. Click on Servers, then go to Server Types and select WebSphere Application Servers to server_name. On the Server Infrastructure, click on Java, then Process Management and Process Definition. Select Java Virtual Machine. Then click OK. This will enable JVM.
Conclusion
Although it sounds a bit tricky, you just have to uninstall and install two or more programs to fix this failed java VM error. With just one try, the failed message disappears and your program will start to work. Enjoy!
Subscribe to our newsletter
& plug into
the world of technology


