[10 Fixes] Razer Synapse Not Detecting Deathadder Chroma
If you want to get the most out of your Deathadder Chroma, or any other Razer peripherals, Razer Synapse is the key. It is a free tool that lets you customize and configure your razer peripherals, macros, and so much more.
However, sometimes users run into the issue where the Razer Synapse is not detecting DeathAdder Chroma. it can indicate several things, like your razer hardware not working properly or perhaps the necessary drivers are missing.
Don’t panic. We’re here to help you fix your Deathadder Chroma not detected by Synapse and take your top-notch gaming with razer peripherals a notch higher.
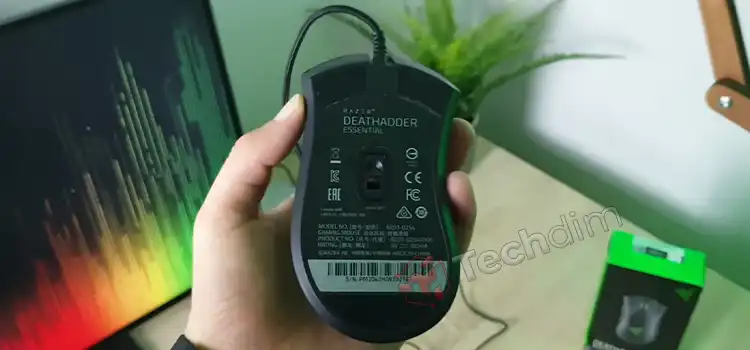
How to Fix Razer Synapse not detecting Deathadder Chroma Issue
There are a bunch of things you can do about it. Again, don’t worry, you don’t have to try them all. Just keep working your way down until your Deathadder is detected by Synapse.
1. Check Your Peripherals Connection
Sometimes it’s just a simple connecting issue. Happens more than you’d think, especially if it’s a PC and you’ve connected your Deathadder on the back. Just unplug it and wait a few seconds before reconnecting it.

2. Check USB Port
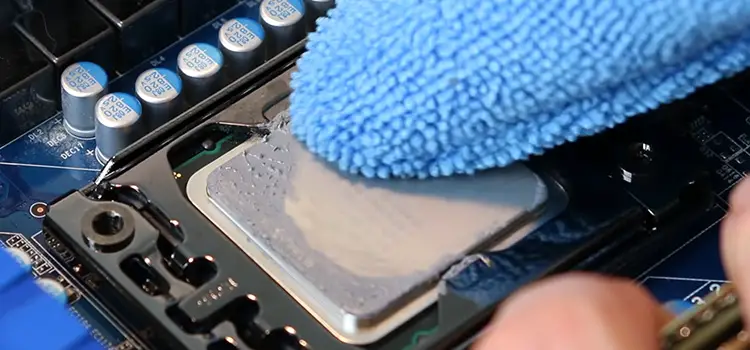
Are you sure the USB port works properly? If you’ve never used the port before connecting your Deathadder to it, consider using a different USB port, please. When not being used for long, ports accumulate dust. If there’s no port free, try cleaning it up before reconnecting.
3. Connect Another Computer to Check
If the above two methods fail, try connecting your Deathadder to another computer or laptop. if other computers can’t detect it too, then probably you got a faulty mouse. Contact your seller immediately for a refund or a replacement if possible.
If, on the other hand, it works on another computer, then you should consider looking into a more complex solution like fiddling with your drivers.
4. Reboot Your Computer
Before starting to mess with your drivers, try the old tried and tested restart method. Sometimes the drivers are installed in the background by Windows automatically when you connect new hardware. But it won’t load properly until you reboot your OS.
5. Scan Through Device Manager
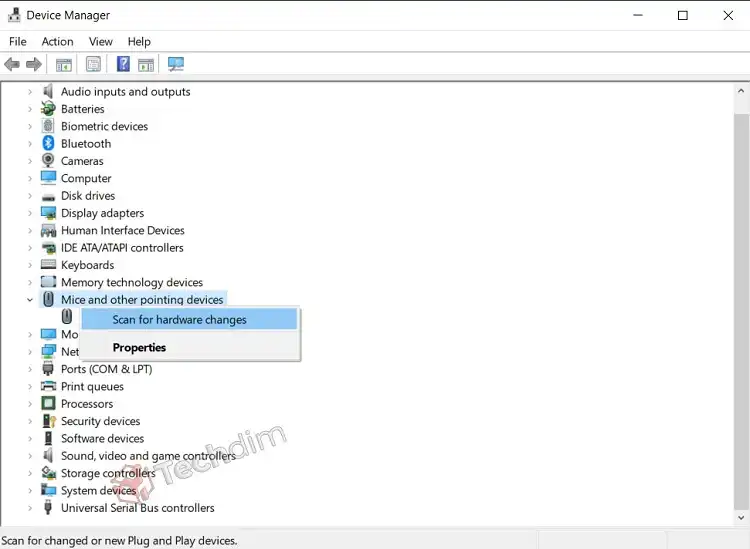
If after rebooting your Deathadder doesn’t show up in Synapse, try scanning for device changes. Go to your device manager, right-click on Mice and other pointing devices, and select Scan for hardware changes. Windows will automatically scan and install the appropriate driver. Afterward, restart your computer.
6. Update the Driver
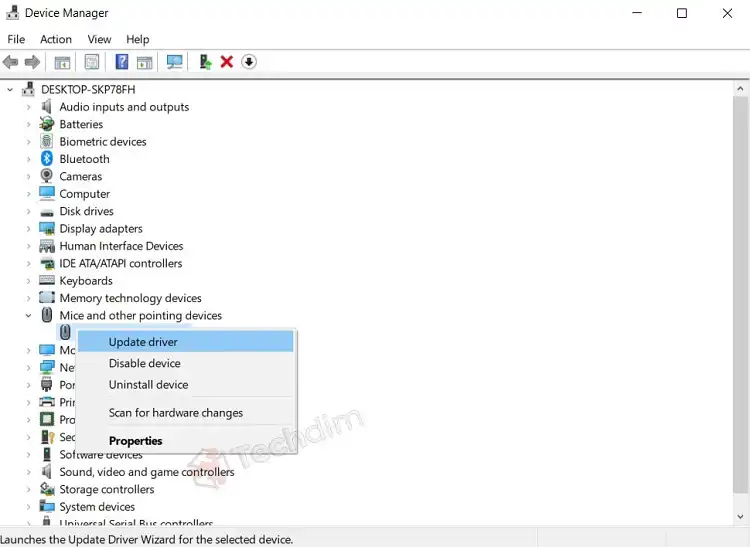
If the previous solution failed, try to update the driver. Go to the same menu in the device manager and click on Razer Deathadder Chroma, select update driver. Windows will scan and show you, different drivers. Install the latest one (newer ones usually have the release date stated next to them) and restart.
7. Delete Conflicting Drivers
Still no luck? Probably you have too many or unnecessary drivers installed. This conflicts with Windows’ hardware detecting properties. So how to detect unnecessary or conflicting drivers? Well, you don’t have to. Just delete everything under Mice and other pointing devices by selecting Uninstall device. Then restart the PC. Windows will automatically install the drivers for newly installed Deathadder Chroma afterward.
8. Update Your Motherboard’s Serial Bus Controller
It is possible that your motherboard’s serial bus controller drivers are outdated thus it can’t detect newer hardware. Although these are automatically updated by windows itself, you can give it a try by going to your motherboard manufacturer’s website and downloading and installing any updates manually.
if you are unsure of which driver to choose, avoid this altogether. Download any free driver updater tool like Driver Booster or Driver Easy. Install it and scan for updates. Remember to restart after you’ve finished updating.
9. Universal C Runtime Requires Updating
The universal CRT operating system components are needed for the RGB lighting effects in your Deathadder Chroma. consider updating it too if it isn’t up to date. Go to the Microsoft support website to download it.
10. Install a Fresh Copy of Synapse
Maybe the problem is with Synapse itself. Maybe the Synapse configuration is faulty. You can never be too sure. Try installing a fresh copy of Synapse before putting your Deathadder Chroma up for a return. First, uninstall Synapse from the app manager in Windows. Next, open File Explorer, browse through Program Files (x86), and delete any folders you find related to Razer. Then go to C>Program Data folder and delete the Razer folder.
Download the latest version of Synapse and install it.
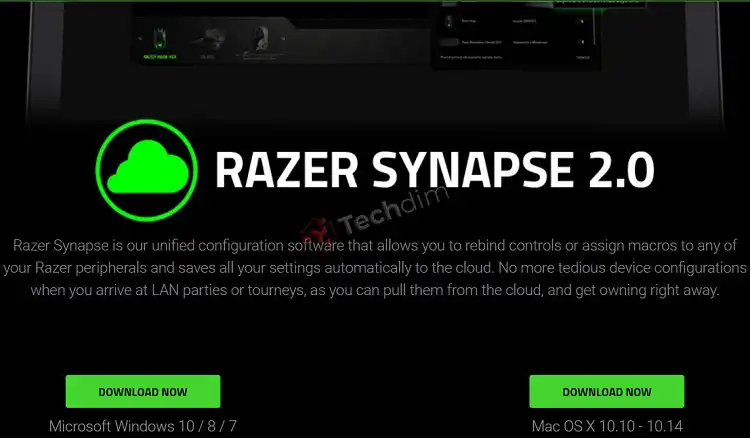
Failed again? Was it Synapse 3? If it was, then, repeat the entire process of uninstalling Synapse. Download Legacy Razer Synapse 2 and give it a go. Hopefully, this will do the trick.
Sometimes Synapse 3 fails to detect some Razer hardware, hence the issue. Check their website for a list of supported devices by Synapse 3.
Bonus Tips: Check the Razer Deathadder Chroma Master Guide
Go to their support website and check the master guide for more details. The guide has a detailed installation process and some fixes for commonly faced issues.
FAQs (Frequently Asked Questions)
How do I connect my Deathadder Chroma to Synapse?
Connect the Deathadder Chroma to your Computer and install Synapse. It will be detected automatically.
Is Razer Deathadder Chroma compatible with Razer Synapse?
Yes, Deathadder Chroma is fully compatible with Synapse.
Is Razer Deathadder Chroma supported by Synapse 3?
No, Deathadder Chroma is not supported by Synapse 3. Please install Legacy Razer Synapse 2.
Conclusion
Often the best method to solve any kind of technical issue is to reboot. We recommend you reboot your computer after following each step. we wish you a happy and lag-free gaming experience.
Subscribe to our newsletter
& plug into
the world of technology


