Installed New CPU No Display Issue | Reasons and Fixes (100% Working)
Before you go ahead and open up the CPU casing, first check all the wires and connections. Now check if the monitor is functioning properly or not. If there is nothing wrong with the monitor, try troubleshooting the peripherals that are attached to the PC.
Disconnect all the peripherals and see if the display is alright when the PC boots up or not. This way find out the faulty peripherals. If everything is okay here, check if the RAM is perfectly positioned or not. Finally, reset the BIOS and see if that changes anything. To know more about the ‘installed new CPU no display’ issue, keep on reading.

Common Reasons for No Display After CPU Installation
After CPU installation on your pc you might face no display issue. There are some reasons that can cause for no display. Take a look before going to the solution.
#1. Incompatibility between the motherboard and the new CPU
One of the most common reasons for a no-display issue after installing a new CPU is the incompatibility between the motherboard and the CPU. Every motherboard has a specific set of supported CPUs based on the chipset, socket type, and other factors. If the new CPU isn’t on the list of supported processors for your motherboard, it may not work correctly, leading to the no-display issue. Before purchasing a new CPU, it’s crucial to refer to the motherboard’s manual or the manufacturer’s website to ensure compatibility.
#2. BIOS settings not recognizing the new CPU
The Basic Input/Output System (BIOS) is the software that interfaces between the computer’s hardware and its operating system. If the BIOS settings are not configured to recognize the new CPU, it can lead to boot-up issues. In some cases, the motherboard’s BIOS version might be outdated and not support the new CPU. Accessing the BIOS during startup and checking for any CPU-related settings or updates can help resolve this issue. If an update is available, it’s advisable to proceed with caution, as incorrect BIOS updates can cause further complications.
#3. Power supply not being adequate for the new CPU
Every CPU has a specific power requirement, and if your existing power supply unit (PSU) can’t provide the necessary power, it can lead to startup issues. High-performance CPUs generally require more power, and if the PSU is not up to the task, the computer might fail to boot. It’s essential to check the new CPU’s power requirements and ensure that the PSU can deliver the necessary wattage. Additionally, double-checking that all power connectors, especially the CPU power connector, are securely attached can help.
#4. Incorrect installation or seating of the CPU
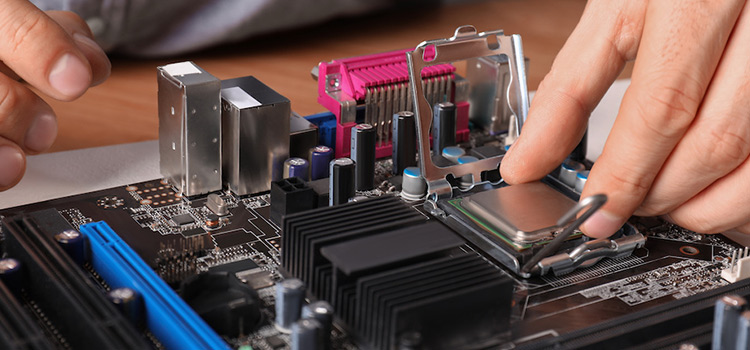
The process of installing a CPU requires precision. If the CPU isn’t seated correctly in its socket, it can prevent the computer from displaying anything. It’s essential to ensure that the CPU is aligned properly with the socket, taking note of any guiding notches or arrows. Once aligned, it should sit comfortably without any force. After placing the CPU, the locking mechanism, usually a lever on the side of the socket, should be engaged to secure the CPU in place.
#5. Faulty hardware, including the possibility of a defective new CPU
While rare, it’s possible to receive a defective CPU. If all other factors have been checked and the computer still doesn’t display anything, the new CPU might be the culprit. To test this, you can revert to the old CPU and see if the computer boots up. If it does, the new CPU might be faulty and need replacement. Additionally, other hardware components, like RAM or the motherboard itself, can also be at fault. Ensuring that all components are functioning correctly can help pinpoint the issue.
How to Solve “Installed New CPU No Display” ? Follow the 4 Methods
It might be quite frustrating when there is no display after installing a new CPU on your PC. But you are not the only one here with this problem. And there are many prominent solutions to this particular no-display issue.
So before you go any further and try one of our solutions to solve the no display issue, first check if all the ports of your monitor and HDMI cable are perfectly plugged into your CPU and the power or not. Now let’s start the troubleshooting.
Method 1: Force Restart your PC

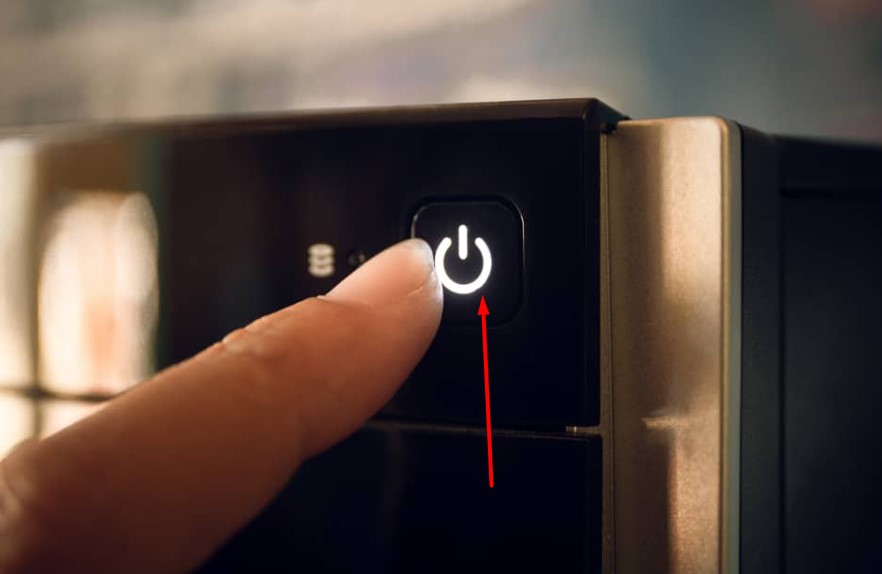
If the screen is still black when you press the power button, try force restarting it. Just press and hold the power button for 10 seconds. Do this three times repeatedly. This should take you to the Windows startup repair option.
If the restart does not solve your issue, you should just skip this one and follow the next method.
Method 2: Check the Monitor
Now check if the monitor functions perfectly or not. If your CPU starts and the monitor’s power light turns on right then, then the monitor is working perfectly. But if it does not, then check all the wires and HDMI cables. All disconnect and reconnect all the power adapters as well.
If the light still does not work, take the monitor to the repair shop. However, if everything is okay with the monitor, then move to the next method.
Method 3: Disconnect all of Your Peripherals
Sometimes, the peripherals might not be compatible with your device and hence cause this issue. To check the peripherals, first shut down your PC. Then disconnect all the peripherals. After that boot up the device and see if the display works perfectly or not.
If the display works perfectly, it means one of the peripherals is causing this issue. Try connecting each of the devices and then restart the desktop to find out the faulty device.
Method 4: Reset the BIOS Settings to Default
To do this, turn off the PC by simply pressing and holding the power button. Disconnect the PC from power and then remove the CMOS battery. Wait for 5 to 10 minutes and then reconnect the CMOS battery and boot up the device. This should reset the BIOS settings to default.

How Do I Get My Computer to Recognize My New CPU
Even though your CPU upgrade is not that huge for example from i3 3rd generation to i5 10th generation sometimes the computer refuses to recognize the newly installed CPU. It is not that of a big deal.
First click on the search icon and type ‘device manager’ and press enter. Now expand the Processors and there you will find all the cores of your processor. Then right-click on each of these cores and uninstall it from the device. And do not forget to uninstall this for every core.
However, after uninstalling every core, a window will pop up, asking for permission to restart. Say No to that and keep on uninstalling. Once all the cores are uninstalled, restart the PC.
Now you might be wondering why you are uninstalling the Processor cores. Do not worry at all. It only uninstalls the cores but does not remove them completely. After restarting they will be just back like before.
When the reboot is completed, the computer will not recognize the CPU anyway because you have done a reset. As a result, the computer will start repopulating the drivers on your device manager. So now if you check your processor section on your computer, you will find the cores just like before.
Can a CPU Cause No Signal?
When your CPU starts without any issue but there is a No Signal message on your monitor, you might have some hardware issues with the RAM, CMOS battery, Graphics card, or faulty cable connections.
This hardware has a decent warranty and hardly faces any physical issues. So, it is only possible that you have excessive dust issues in your CPU casing. And as these components are prone to the excessive dust build-up issue. They might have been dispositioned and then refused to function properly.
To solve this issue, you can just simply uninstall these components and then get rid of the specks of dust, rub the component lightly and then install it. This method might work perfectly with a CMOS battery that you can find right beside the motherboard. Also, you can follow the same procedure with the RAM too.
Should I Reset My PC After Installing a New CPU?
When you install a new CPU, your computer recognizes that automatically. But maybe that happens in a perfect world. Most of the time, you have to put effort to make your computer recognize the newly installed CPU.
CPU is one of the key components of your desktop PC. And when you change it, you have to reactivate the licenses. Though you do not have to do this when you change the RAM or GPU. Instead, you can just upgrade the drivers. But with the upgrade of CPU, you have to reactivate the licenses. So just sign in to your Microsoft account and add it to your PC and you are good to go.
Frequently Asked Questions
Does changing the CPU affect Windows 10?
Windows 10 does not recognize your new system if you have brought a huge change in your computers like motherboard, CPU, or the main storage drive. So in that case, you might have to reinstall some of the programs you had previously on your desktop.
Can I just swap out the CPU?
Yes, you can swap out the CPU as long as the motherboard and the CPU cooler are compatible with it. Also, upgrading some other components might become essential to make the CPU compatible with the rest of the PC.
Conclusion
Facing such an issue with the display can be awful sometimes, considering the amount of money you have invested to upgrade your PC. But if now you or someone from your family faces this installed new CPU but no display issue, you can tackle the situation more effectively.
Subscribe to our newsletter
& plug into
the world of technology


