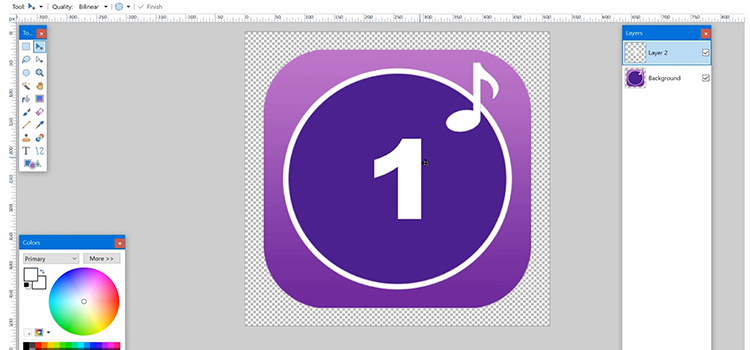
How To Center Text in Paint.Net? Easy Methods
Paint.net was developed by the .NET framework back in 2004. It’s a freeware graphics editor software for Microsoft Windows. This software allows you to do advanced editing with some limitations but as a free thing, it’s not that bad. On every windows version, you can find it.
It has some cool features but when you’ll go to do text alignment, you won’t do that in paint.net as it doesn’t have a built-in alignment tool. For example, you want to give a picture title and want to keep it in the center. Without the alignment tool, that’s not possible.
In today’s article, we’re here with a guideline by following it you can able to center text in paint.net. Therefore, be with us till the end. So, without any ado, let’s begin!

How Do I Use Plug-in To Center Text in Paint.Net
To center text in paint.net, you’ll need to download the plugin. You can use Align Object Plugin or Text+ plugin. To download them, navigate into your browser and go to the official paint.net forum. From there you can download them for free. Now, follow the steps below to make your paint.net able to use the plug-in.
- Download the plug-in and extract the plug-in file. Copy the DLL file. Now, if you’ve downloaded paint.net from the Microsoft store, then, navigate to the Documents folder and create a folder, and name it paint.net App Files.
- Now, open the paint.net App Files folder and create another folder there and name it Effects. Paste the Plug-in DLL file here. The plug-in will be added to paint.net.
- If you’ve downloaded paint.net from Getpaint.net, navigate to C drive and then Program Files. Now, look for the paint.net folder. Navigate to that folder and then navigate into Effects. Paste the DLL file here.
Now, you can use any of the plug-ins for alignment purposes.
Method 1: Use Text+ Plugin to Center Text in Paint.net
Follow the procedure below for using Text+ Plugin.
- Step 1: Navigate into Paint.Net.
- Step 2: Click on Effects > Text Formations > TextPlus.

- Step 3: Next, write your text and select the center alignment from there. Now, click on OK to save the change.
Method 2: Use Align Object Plugin to Center Text in Paint.net
Follow the procedure below for using Align object plugin.
- Step 1: Navigate into Paint.net and open your image.
- Step 2: Now, click on Effects, and from the drop-down menu click on Align Object.

- Step 3: Now, click on the circle, and OK, and your text will be aligned in the center.


Now, choose which one you want to use. Both of the Plugins are free to use. Text+ is easy to use for text alignment. It’s up to you now.
Frequently Asked Questions (FAQs)
How do I center something in paint.net?
You can download Vandermotten.paintdotneteffects. You can find it in the official Paint.net forum, download it from there, extract the file, install it, and use it on paint.net to center objects. It’s a very easy and quick method to follow.
How do I center text in paint?
Follow the procedures below to center text in painter.
- First, find the area where you are willing to add text. Now, select the Text Tool. It has a logo with the letter A.
- Now, click on where you want to add text, and after that, you’ll get to see the alignment option there. Choose the center alignment and insert your text.
How do I edit the text in paint net?
To edit the existing text,
- Select the text layer from the layer’s palette.
- Next, click on Effects, then Tools, and select Editable Text. Now, edit your text from there.
Conclusion
We hope that you’ve your answers by now. Follow the instructions that we’ve provided and put your text in the center of piant.net. It’ll take not more than 5 minutes to set up paint.net by using the plugins. If you’ve any further questions or any other queries regarding paint.net, feel free to comment below.
That’s all for today, Gracias!
Subscribe to our newsletter
& plug into
the world of technology


