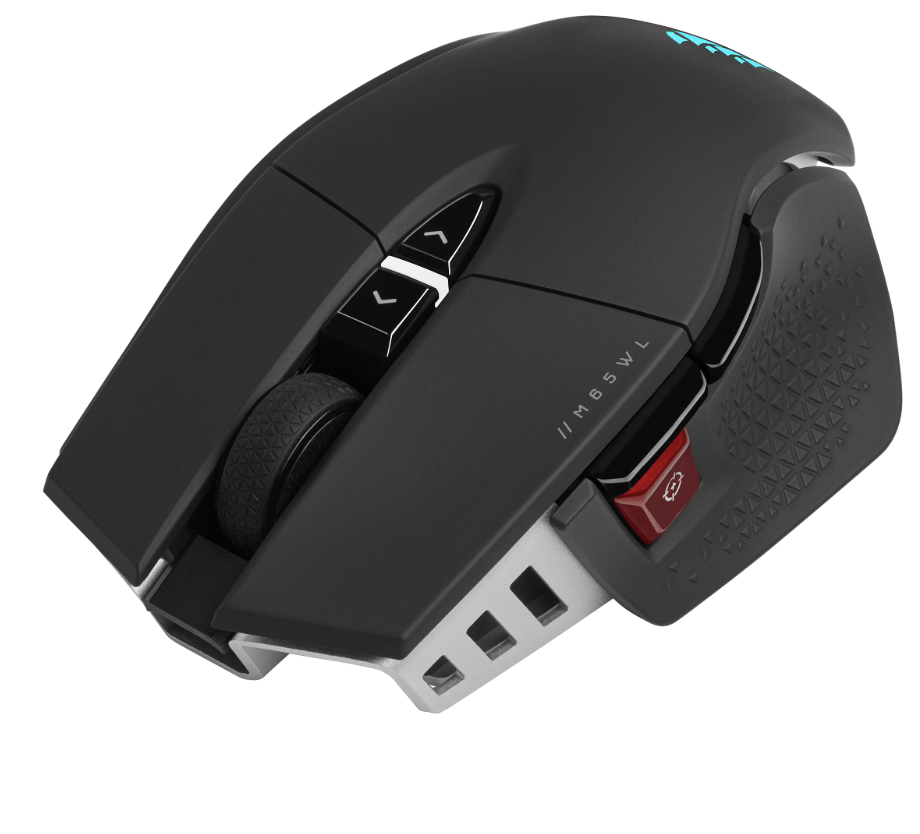
How to Adjust Your Mouse DPI Settings for Maximum Precision and Speed
Whether you’re a gamer, designer, or just someone who wants a smoother experience on your PC, adjusting your mouse DPI (dots per inch) settings can make a world of difference. DPI determines how sensitive your mouse is to movement, which directly affects how fast the cursor moves on your screen. In this guide, we’ll walk you through how to adjust your mouse DPI settings, explain why you might want to, and help you get the most out of your mouse.

MOUSE DPI EXPLAINED
What is DPI?
DPI stands for Dots Per Inch, which measures how far your cursor moves on-screen relative to the movement of your mouse. The higher the DPI, the faster your cursor will move in response to mouse movements.
- Low DPI: More precision, slower movement (good for tasks like photo editing or sniper shooting in games).
- High DPI: Faster cursor movement (good for navigating large screens or quick reactions in games).
Step 1: Check If Your Mouse Supports DPI Adjustment
Not all mice come with adjustable DPI. High-end gaming mice typically allow users to change DPI settings on-the-fly, while standard office mice may not offer this functionality at all.
- Look for a DPI button: On most gaming mice, there’s a dedicated button (often near the top or bottom) that lets you cycle between different DPI presets.
- Software configuration: If your mouse is a high-performance model, it likely has accompanying software (e.g., Logitech G Hub, Razer Synapse, SteelSeries Engine) that lets you customize DPI settings.
Step 2: Adjust DPI Through the Mouse Software (For Mice with Software)
If you have a mouse with software like Logitech G Hub, Razer Synapse, or Corsair iCUE, follow these steps to fine-tune your DPI:
- Install the software: Download and install the official software for your mouse model from the manufacturer’s website.
- Launch the software: Open the application, and you should see an interface where you can adjust various settings.
- Find DPI settings: Look for a tab labeled “DPI,” “Sensitivity,” or something similar.
- Set your DPI: Usually, you can set different DPI levels to cycle between. For example, you might have 800 DPI for precise movements, 1600 DPI for medium-speed movements, and 3200 DPI for fast navigation. Adjust these to your preference.
Step 3: Adjust DPI Through the Mouse Itself (For Mice with Built-in DPI Buttons)
Many gaming mice allow you to adjust DPI directly through the hardware. Here’s how you can adjust it:
- Locate the DPI button: This button is typically on top of the mouse, often between the left and right mouse buttons, or on the underside.
- Press the button: Press the button to cycle through different DPI settings. Some mice have lights that change color to indicate different DPI levels (e.g., blue for 800 DPI, red for 1600 DPI, and green for 3200 DPI).
- Test your DPI: Move the mouse around and see if the cursor moves at a speed you’re comfortable with. If it feels too fast or slow, cycle again until you find the right balance.
Step 4: Fine-Tune Your DPI Based on Usage
Here’s a breakdown of DPI settings based on your typical tasks:
- For Gaming:
- Low DPI (400-800 DPI): For games that require precision, like FPS (First Person Shooters), where small, precise movements are key.
- Medium DPI (1200-2000 DPI): For games that need a balance of precision and speed, like MOBA (Multiplayer Online Battle Arena) or RTS (Real-Time Strategy) games.
- High DPI (3000+ DPI): For fast-paced action games or those who need a quick response time, like racing games or action-oriented MMOs.
- For Design and Content Creation:
- Low DPI (600-1000 DPI): Ideal for photo editing or design work where pixel-perfect control is essential.
- Medium DPI (1500 DPI): Good for general editing tasks, like video editing or working in CAD programs, where you still need accuracy but at a slightly faster pace.
- For General Browsing and Office Work:
- Medium DPI (1000-1600 DPI): A good all-rounder for everyday computer use, providing smooth cursor movement without being too twitchy.
- High DPI (2000+ DPI): If you have multiple monitors or need to rapidly navigate through large documents or spreadsheets, higher DPI might be beneficial.
Step 5: Test and Adjust Sensitivity in Windows
Once you’ve adjusted the DPI settings, you may want to further fine-tune your mouse’s sensitivity in Windows to match your needs.
- Open Mouse Settings: Go to Control Panel > Mouse (or Settings > Devices > Mouse in Windows 10/11).
- Adjust Pointer Speed: You can adjust the “Select a pointer speed” slider. This will change how sensitive the pointer feels at a given DPI setting.
- Disable Enhanced Pointer Precision: Uncheck this box to avoid automatic acceleration, which can affect your accuracy, especially for precise tasks like gaming or design.
Step 6: Practice for Better Accuracy
Adjusting DPI is one thing, but achieving optimal precision comes with practice. Spend some time getting used to the new settings, whether it’s for gaming, designing, or simply navigating your desktop. For gamers, it’s essential to find a DPI setting that allows you to be quick but still accurate in your movements.
Conclusion
Adjusting your mouse DPI settings can significantly improve your overall computing experience, whether you’re trying to improve your gaming skills, design with more precision, or just browse your computer more efficiently. By tweaking your DPI settings based on your needs, you’ll gain greater control over your mouse movements and ultimately be more productive or competitive, depending on the task at hand.
Subscribe to our newsletter
& plug into
the world of technology


